
With the onset of spring comes summer garden prep-work! Many people love the idea of gardening and would love to start a garden at home, but keep putting it off since they have no clue where to start. A lot of people assume that you have to have a spacious backyard and invest a lot of time and effort into planning and developing and maintaining a garden–if you’re extremely committed, there’s nothing stopping you from doing all this and you’re encouraged to go for it. However, the average Joe who has even the slightest interest in gardening probably finds diving into an entire vegetable garden rather daunting to say the least and isn’t willing to start a project so laborious. Instead of starting from scratch and trying to grow an entire garden you don’t know much about, try starting with a few pots–which can be done on balconies, terraces, decks, or patios so you won’t be needing an entire lawn of green space–and growing just a few plants. Most gardeners will recommend starting with tomatoes and peppers since they’re relatively easy plants to grow and are difficult to mess up. However, today we’ll be showing you how to grow container potatoes–that’s right, potatoes–for a little twist and variety in your newfound gardening experience.
1) Find a ten to fifteen gallon (or more) container–this could be a bucket, barrel, storage tub, burlap sack, canvas tote, or really whatever you have on hand or can readily find available (just make sure it has good drainage and stands at least a couple feet tall). Go ahead and fill your container with potting soil (ideally something organic or high quality with a compost mix). You’ll also want to add some sort of fertilizer for the best results–one that is organic and one that is liquid such as fish emulsion.
2) Prep your seed potato (found at any plant nursery or specialty grower–don’t use grocery store potatoes unless they’re organic and have sprouted) by cutting it into pieces–each piece should have at least two eyes (or nodes/sprouts). Let the cut pieces sit a few days before planting, then place them into your container spaced with about five inches in between about four to six inches from the bottom of the container (a 20 inch wide tote can hold about four planted seed potato pieces). Cover with one to four inches of soil (the colder it is, the less soil you top them with).
3) Place your container in a sunny area and water your potatoes until you see water dripping out the bottom to ensure they’re fully saturated. Check on them once a day and water as needed (make sure the soil is always moist but not wet by sticking your finger an inch down into the soil to check.
4) Hill your potatoes: wait until the plant is about six inches tall, then bury the lower third of the plant by adding a few inches of extra soil in order for the plant to grow more potatoes. Repeat this process until the soil has reached the top of the container.
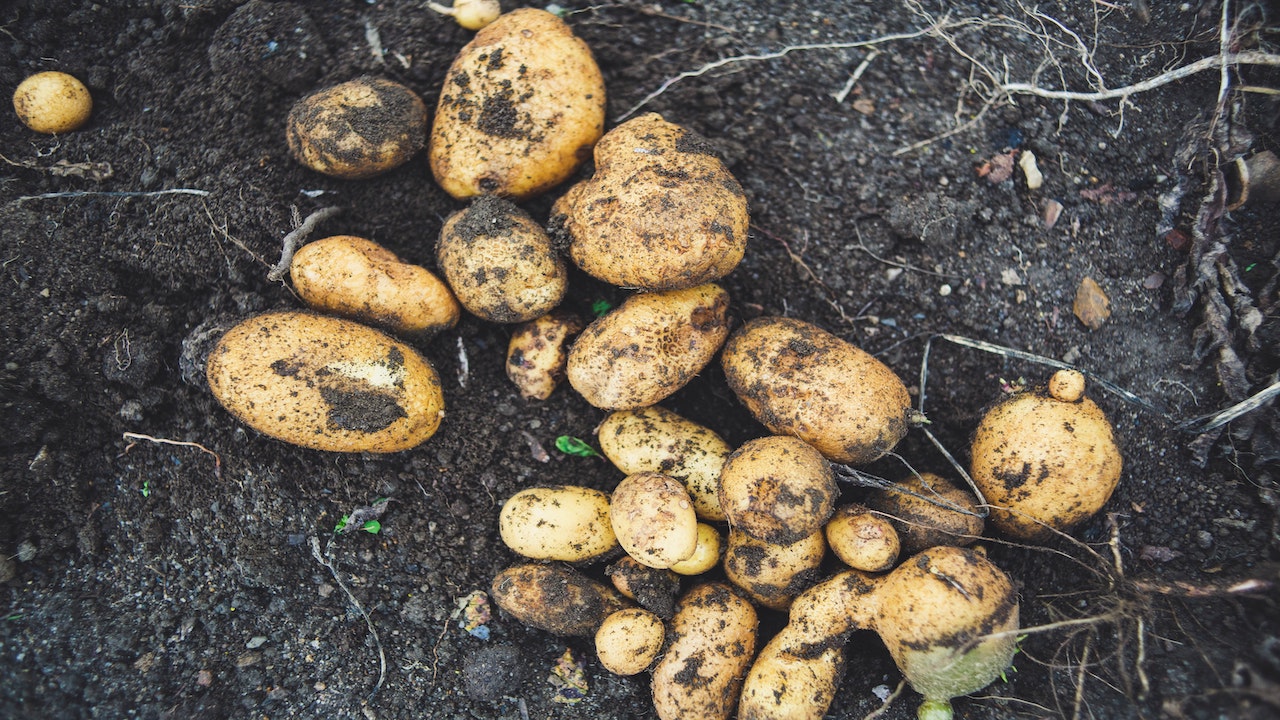
5) Once the potato plants have flowered, they’re ready for harvest! You may harvest your potatoes by reaching in with your hands and pulling them straight from the soil, though it may be easier to find a place outside to dump the entire container out once the plant has died and yellowed then pick out your potatoes from the soil (hint: the small potatoes tend to be the sweetest). Store in baskets or paper bags or cook them immediately, and enjoy your harvest!
Written by Carole Wilay (’25)
Photo by Markus Spiske on Unsplash